Beginner woodworking
Beginner Drawer Boxes: Using CutList To Avoid Quantity Mistakes
How hobbyists can plan drawer sides, fronts, backs, and bottoms without losing track of repeated parts.
Research Lens
How can a personal builder use CutList to finish beginner drawer boxes: using cutlist to avoid quantity mistakes with fewer mistakes?
The hobby workflow is strongest when the app is used as a planning checkpoint: define the project, enter accurate stock and parts, generate a visual layout, then use cost, waste, grain, kerf, PDF export, project history, and offline access to control the real cutting session.
Decision Metrics
Solve One Drawer First
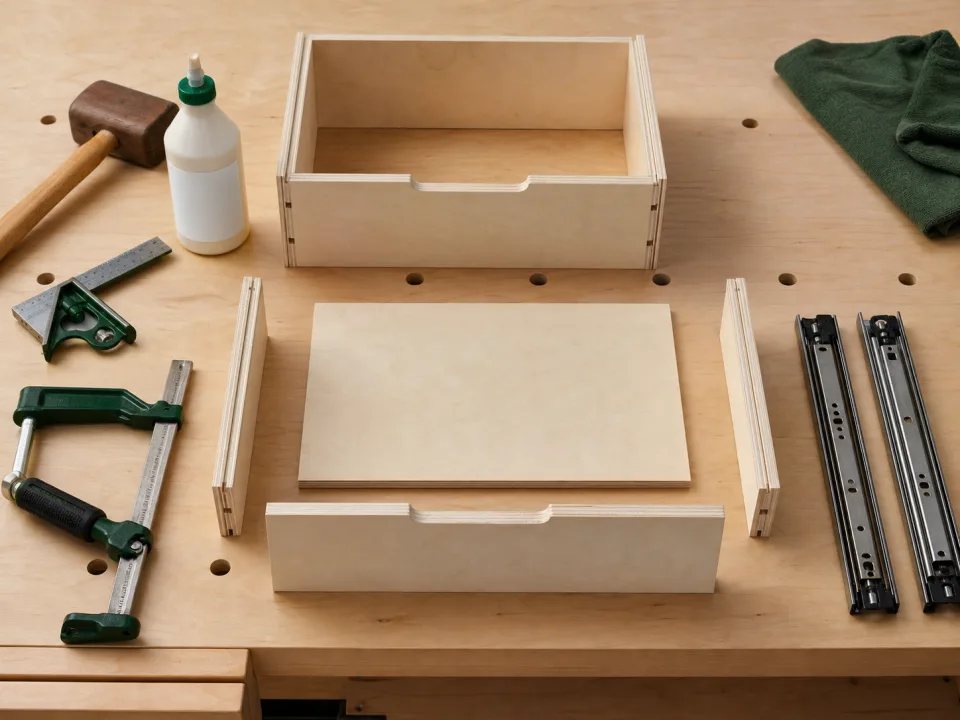
List one box before multiplying: two sides, one front, one back, and one bottom. Then use quantities to scale the project.
Separate Bottom Material
Drawer bottoms often use thinner plywood than the box sides. Enter them under their own stock so the layout does not mix materials.
Use The Visual Layout As A Sanity Check
If six drawers should create six bottoms and the layout shows five, the mistake is visible before the sheet is cut.
Duplicate Similar Projects
Project history helps when a cabinet has shallow, medium, and deep drawers. Duplicate the saved plan and adjust only the dimensions that differ.
Worked planning method
Turn the drawer opening into a buildable cut list
Start with the measured cabinet opening, not the nominal cabinet width. Record the opening at the front and back, then use the smaller width. The slide manufacturer's required side clearance is a design input: subtract the combined left-and-right clearance from the opening before sizing the drawer box. Keep that calculation beside the cut list so a later slide change does not silently invalidate every side and end panel.
Choose the joint before finalizing front and back lengths. A butt joint places those parts between the sides, while a rabbet or dovetail changes the material captured by the joint. The bottom also needs an explicit rule: note whether it fits in grooves or attaches beneath the box, and record the groove setback and depth if used. Those decisions determine the finished outside dimensions; they are not shop-floor details to improvise after cutting.
For a repeatable workflow, build one test box from the same stock and slide hardware. Dry-fit it, check both diagonals, install the slides, and test the full travel in the actual opening. Only after that verification should the quantity be multiplied for the remaining drawers. In CutList, name parts by cabinet and drawer position so paired sides and fronts stay together through cutting, edge treatment, assembly, and installation.
Verification before the full batch
- Measure the real opening at more than one depth and use the limiting dimension.
- Write the slide clearance and joint deduction next to the calculated box width.
- Verify one complete drawer before releasing the repeated batch.
Field Checklist
- Model one drawer first.
- Separate bottom stock.
- Check quantities visually.
- Duplicate for drawer size families.
Project Application
A beginner is cutting drawer box sides, fronts, backs, and bottoms for a small workbench. The repeated parts make the job ideal for a cut list, but labels matter.
Six drawers need twelve sides and twelve fronts or backs. A 1/16 inch dimension mistake repeated 24 times turns into a project-wide fit problem.
The common mistake is cutting one part from memory and batching it before checking the assembled drawer size.
Enter every drawer part in a cut list optimizer, review quantities, then export or save the plan in CutList.