Home renovation
DIY Closet Organizer Planning With CutList
A home renovator's approach to shelves, dividers, cubbies, and closet panels using a phone-based cut planner.
Research Lens
How can a personal builder use CutList to finish diy closet organizer planning with cutlist with fewer mistakes?
The hobby workflow is strongest when the app is used as a planning checkpoint: define the project, enter accurate stock and parts, generate a visual layout, then use cost, waste, grain, kerf, PDF export, project history, and offline access to control the real cutting session.
Decision Metrics
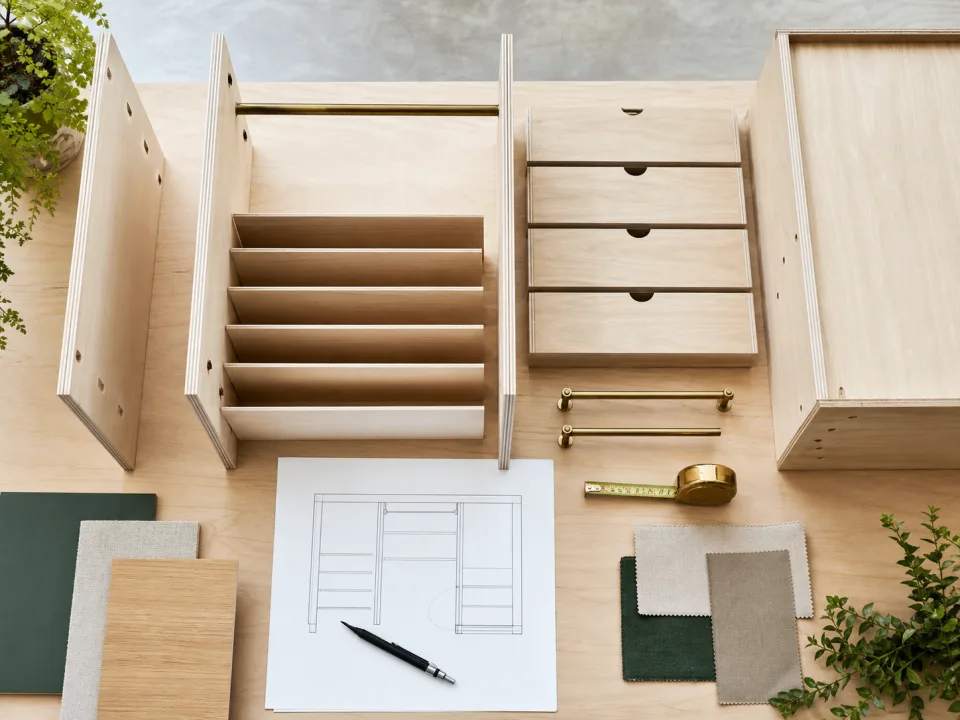
Break The Closet Into Zones
Separate hanging space, shoe cubbies, folded clothing, and top storage before entering parts. Each zone creates a different panel rhythm.
Keep Materials Separate
Melamine, plywood, and painted MDF should be planned as separate sheet stocks. CutList can handle different sheet materials, but the hobbyist still needs to avoid mixing visible and hidden parts.
Account For Edge Banding
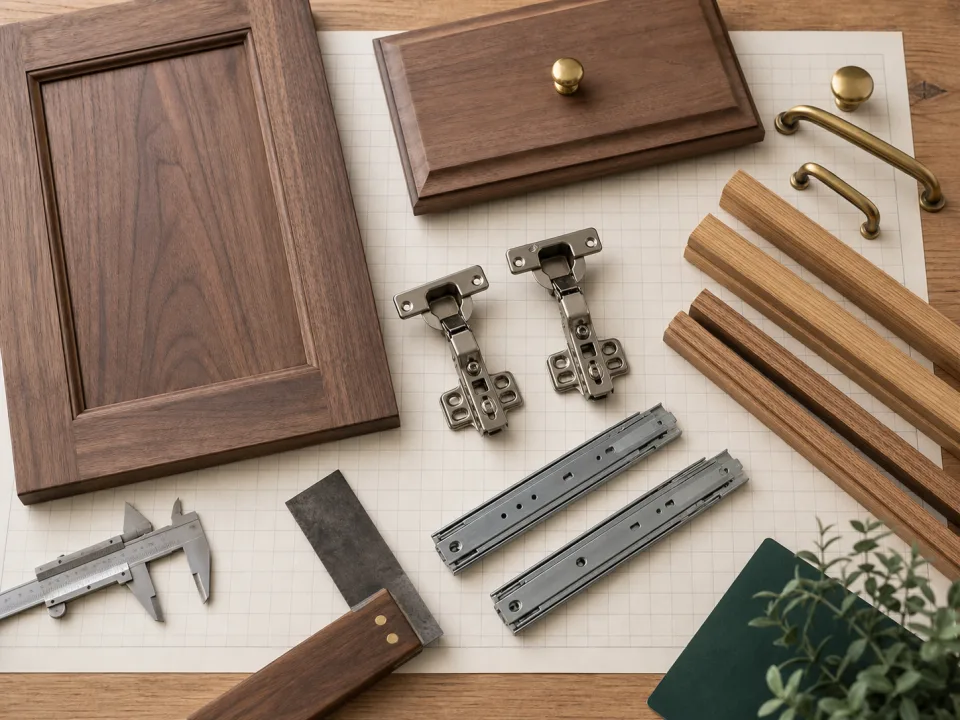
Closet fronts often have exposed edges. Use kerf and edge banding allowance so finished pieces do not drift from the planned size.
Export For The Garage
PDF export and AirPrint are useful when cutting happens away from the closet. Bring the cut sequence to the saw instead of carrying room measurements in your head.
Field Checklist
- Divide the closet into zones.
- Separate sheet materials.
- Add edge banding allowance.
- Export or print the cut sequence.
Project Application
A DIY closet organizer has tower sides, adjustable shelves, shoe shelves, and narrow cleats. The project looks simple until every small support piece is added.
A 96 x 48 sheet has 4,608 square inches. If the visible panels consume 3,600 square inches before kerf, the remaining area may not be shaped well enough for long cleats.
The common mistake is leaving cleats, fillers, and nailers out of the first cut list because they feel minor.
Use CutList to keep all small parts labeled so the layout and assembly sequence stay connected.