Define the part
Keep thickness, finish and grain consistent within each stock group.
Material → allowance → cut plan
Get a useful panel allowance before you order. Choose a job, adjust the dimensions and your own prices, then take the confirmed parts into CutList for a reviewed layout and shop workflow.
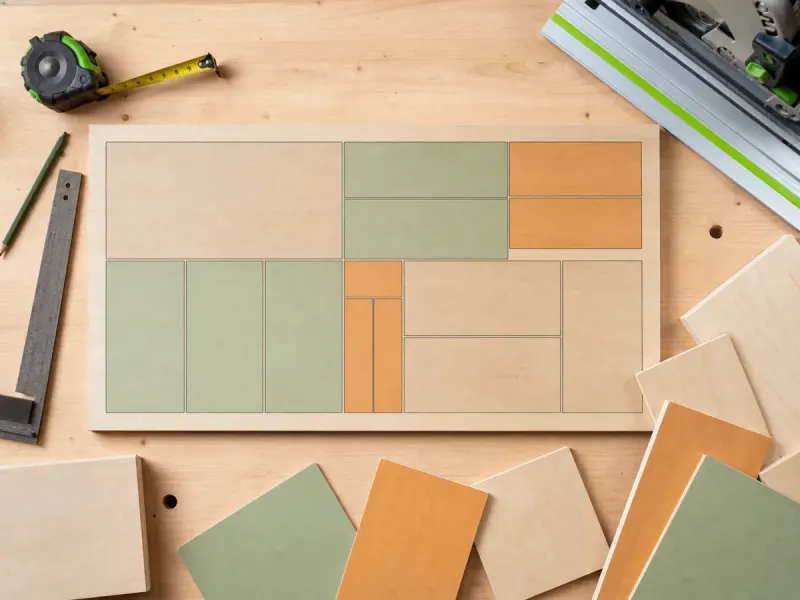
Keep thickness, finish and grain consistent within each stock group.
See panel area, whole-sheet rounding and a partial cost subtotal.
Review layouts and cutting order. Use Pro for scan, PDF and printing.
Choose your job
Each estimate covers a named panel group. Follow its scope notes before expanding to the whole build.
Furniture
Budget the repeated shelves before pricing the complete bookcase. Shelf depth and grain direction often decide whether an apparently spare strip is usable.
Estimate bookshelf panels →Cabinet shop
Start with cabinet side panels, then build up the remaining stock groups. Carcass panels and thin backs cannot share one purchasing calculation simply because both are plywood.
Estimate kitchen cabinet panels →Fitted furniture
Check tall gables against available sheet length before estimating cost. A low area total is of little help if a full-height panel cannot fit the selected stock.
Estimate wardrobe panels →Workshop
Estimate a laminated sheet top one layer at a time. Two layers use twice the panel area, but the complete build also needs a separate base and fastening plan.
Estimate workbench panels →Interior fit-out
Estimate rectangular storage blanks beneath an existing stair. Sloped pieces require measured geometry: a rectangle allowance does not describe the final angled cut.
Estimate under-stair storage panels →Renovation
Budget cabinet panels separately from the tiled floor or splashback. Keeping the trades apart avoids mixing sheet yield with tile coverage and box rounding.
Estimate laundry fit-out panels →The estimating desk reference
Use these checks alongside every estimate. Open a focused existing tool when the job needs more detail.
Check 01
Record dimensions in either millimeters or inches for the entire calculation. Switching units here converts the physical dimensions, including sheet size; it does not change the price per sheet. For solid lumber sold by volume, use the board-foot calculator instead of treating a board as sheet stock.
Board-foot calculator →Check 02
A supplier bills for the stock you buy, while the part dimensions describe what you need after processing. Check actual sheet size, usable edges, thickness and surface specification. Compare prices only after matching those details. A cheaper sheet with the wrong thickness or finish is not an equivalent quote.
Compare sheet materials →Check 03
This estimator adds a purchasing allowance to net panel area: net area × (1 + allowance / 100). It is not a measured cutting-waste percentage or a guaranteed yield. A 10% allowance on 10 square meters gives 11 square meters; a 90% yield target would require 10 / 0.9 = 11.11 square meters.
Check waste calculations →Check 04
Divide allowed area by sheet area and round up to whole sheets. Repeat separately for each material, thickness and finish. Do not combine a thin back with thick carcass panels to remove a sheet from the order. Keep any useful stock already on hand separate until its dimensions and condition have been checked.
Check a sheet layout →Check 05
Area is a lower-bound planning method, not a nesting algorithm. Parts can fail to pack because of their shape, grain, kerf or edge trim even when total area looks sufficient. This tool flags a single part that exceeds the stock dimensions, but only a reviewed layout can establish a practical sheet requirement.
Check saw kerf →Check 06
Measure only the edges that will actually receive banding, then allow for end trimming and setup waste separately. Confirm whether your part dimensions describe the core panel or the finished banded part. Keep banding material and application labor outside the sheet price so neither is counted twice.
Review component dimensions →Check 07
Use estimated hours multiplied by your own hourly cost for this early allowance. Include setup and handling deliberately rather than hiding them in sheet waste. The output is a partial cost subtotal, not a client quote: hardware, transport, overhead, taxes and profit may still need their own lines.
Review a wider material budget →Check 08
Freeze the intended dimensions, stock specification, grain rules, kerf and trim before releasing a cut plan. In CutList, recreate and review those inputs, then generate the layout and follow the cutting sequence. Pro adds PDF export and AirPrint for the shop handoff. Opening the App Store from this page does not transfer your numbers.
See the CutList workflow →From an estimate to the saw
CutList creates sheet layouts from your actual stock and parts, with grain direction and kerf controls. Keep revisions in project history and follow the cutting sequence beside the material.
Basic layouts are free. AI Scan, PDF export, AirPrint and unlimited projects require Pro. Subscription pricing is shown in the app.
This website provides a single-use estimate. Re-enter reviewed inputs in the app; there is no automatic transfer.
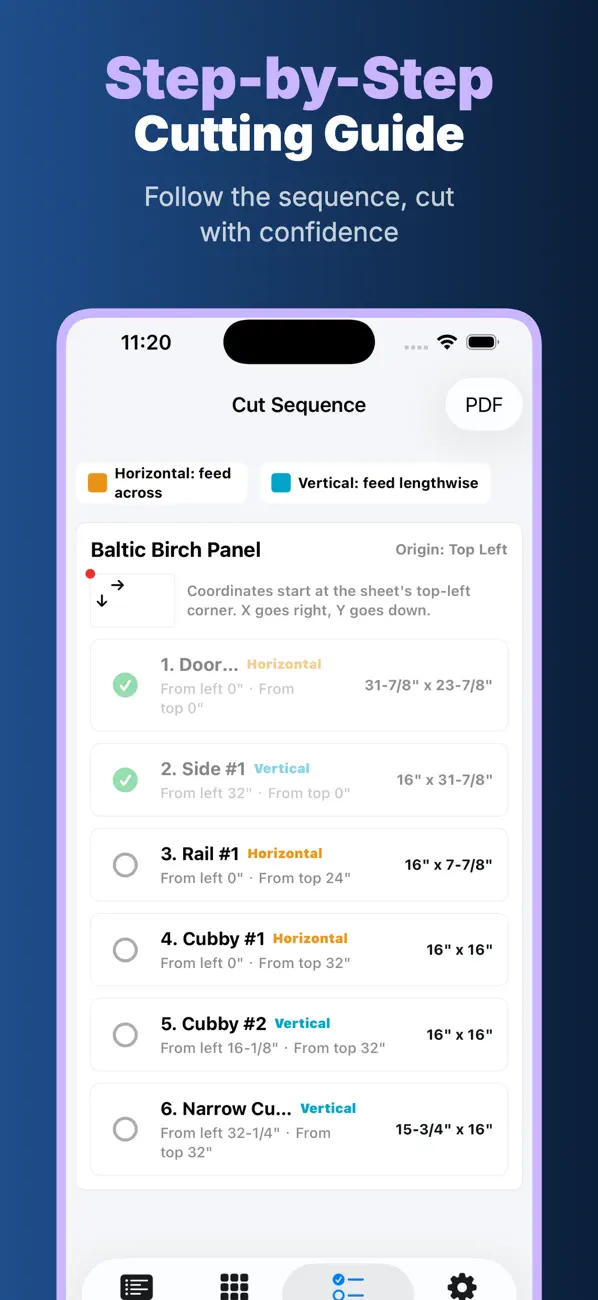
Keep the checked result
Recreate your confirmed parts in CutList on iPhone or iPad. Review sheet layouts, grain direction and the cutting sequence. Pro adds on-device AI Scan, PDF export, AirPrint and unlimited projects.
 On a computer? Scan with your iPhone or iPad.