Shop cutting template
Lumber Storage Cart Cut List Template
A mobile lumber cart with vertical sheet bays, horizontal board shelves, cutoff bins, rated casters, restraints, and a low centered load path. Use this as a starting point, then change every dimension for your room, hardware, material thickness, and joinery before cutting.
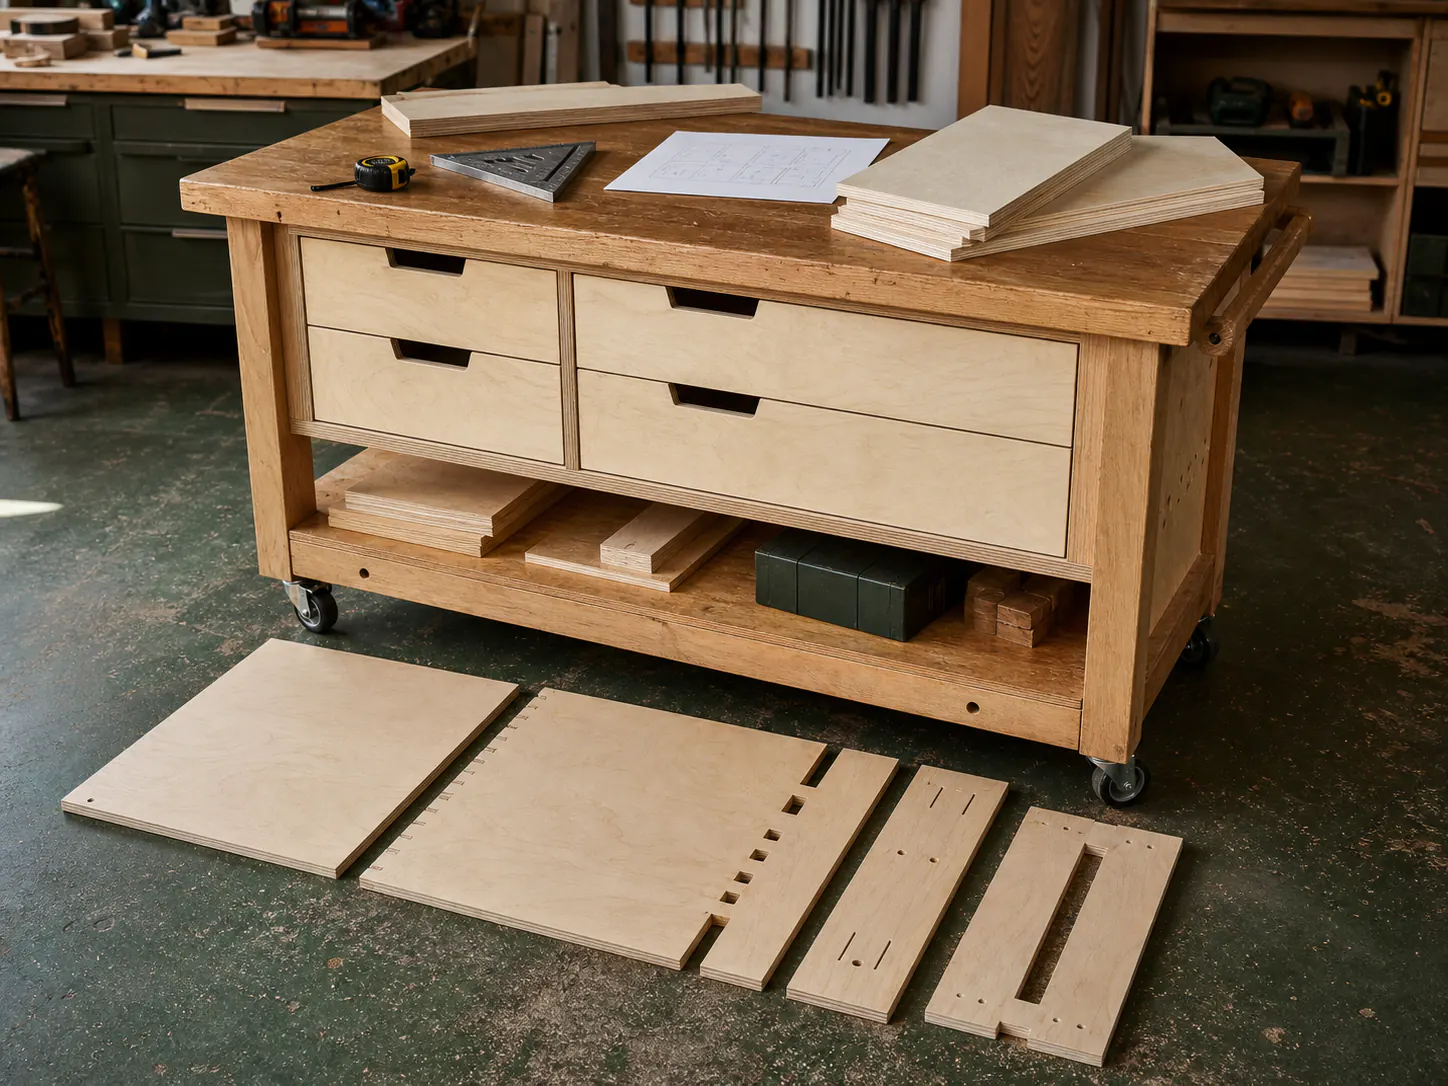
Release boundary for this template
Do not release these plywood parts from nominal dimensions alone. Close the measurement, system, and installation decisions first.
- Field measurement: Map the storage footprint, loaded turning path, doorway, floor condition, and longest stock handled.
- Hardware and service system: Shelf spans, dividers, restraints, caster ratings, brake positions, handles, and loaded center of gravity require review together.
- Installation boundary: Load-test gradually in the final shop and stop if the cart racks, tips, rolls, or overloads the floor or casters.
Use Design a useful sheet-goods storage system to prepare the input, and Prevent stored offcuts from warping if the drawing, hardware, or installed condition no longer agrees.
Plan the lumber storage cart before buying sheets
Start by confirming the finished width, depth, height, access clearances, and load requirements. This template is intentionally made from rectangular plywood parts so you can adapt it without redrawing the whole project. Keep matching pieces grouped together, mark visible faces, and leave room for edge banding, backs, doors, drawers, hinges, or trim that apply to your version.
Use 3/4 inch plywood for the structural parts unless your design calls for another thickness. A template is not a structural rating: add bracing, wall anchoring, weather protection, or a thicker panel whenever the location, load, or local requirements demand it.
Lumber Storage Cart project-specific checks
Use these checks with the sample parts list before calculating sheet count or making a purchase.
- Estimate the maximum loaded weight by material type and length before sizing structure, casters, floor contact, or push handles.
- Keep sheet goods restrained, boards supported at enough points, and the heaviest material low and centered.
- Confirm doorway, ceiling, aisle, floor joint, and turning clearances for the loaded cart rather than the empty frame.
- Define an offcut-retention rule so unstable scraps do not accumulate above the designed load envelope.
Lumber Storage Cart parts list
Material: 3/4 in plywood
Kerf allowance: 1/8 in between cuts
Grain direction: keep visible faces consistent

Part               | Size (in)       | Qty
-------------------+-----------------+----
Base layers        | 30 x 60         | 2
End panels         | 30 x 48         | 2
Center divider     | 24 x 60         | 1
Shelf decks        | 18 x 30         | 4
Caster blocks      | 6 x 6           | 6
Review each part against the actual construction method before cutting. Reduce a shelf or bottom for side-panel thickness where needed, leave back-panel or drawer-slide clearance, and make a test piece for any groove, dado, or hardware opening. Label repeated parts as a batch so their orientation stays consistent.
Check the sheet layout and cut order
Place the largest parts first, then nest matching rectangles around them. Square footage alone cannot tell you the sheet count because saw kerf, grain direction, and the shape of the remaining offcuts matter. Enter this adjusted list in the plywood cut calculator with your real sheet size and blade kerf before purchasing material.
Break full sheets into manageable strips first, then crosscut the final parts. Keep pairs together, label the inside faces, and dry-fit the case on a flat surface before driving final fasteners. The cut list calculator is useful if the project also uses solid-wood rails, trim, or stretchers.
Assembly checks that prevent rework
Dry-fit the major panels, measure both diagonals for square, and confirm that moving parts or equipment have the clearance you planned. Pre-drill near plywood edges, test fasteners in an offcut, and attach the back only after the cabinet or frame is square. Read how to read a cut list and saw kerf explained if you need a refresher before finalizing the layout.
How this template was prepared
The parts list models a common lumber storage cart carcass or frame so you have named pieces and repeated quantities to review. It deliberately leaves hardware, joinery, edge treatment, structural loads, and site conditions open because those choices change final dimensions. Before cutting, verify every opening and finished dimension, confirm material thickness with a caliper, apply hardware clearances, and review the optimized layout against the drawing or room. For a transparent comparison of common template inputs, see the plywood project yield benchmark.
Make this template yours
Replace the sample lumber storage cart dimensions with the real job
The sample rows are a planning start. Create a CutList project with the measured dimensions, actual material, blade kerf, grain direction, and approved quantities before releasing parts.
- Free basic layouts
- No login
- No cloud upload
- Works offline
 On a computer? Scan with your iPhone or iPad.
More project templates
Browse the full plywood cut list template library for related builds, then save a revised version in the CutList optimizer app when you want to compare sheet counts or keep the plan for later.